Build Your Own Aquarium Stand
Every aquarium needs a stand and sometimes it's difficult or expensive to find a stand that suits you. Sometimes you find something you like, but you aren't sure it will support the weight of your tank Well, thanks to RocketEngineer over at Reef Central, there is an easy template for making your own stand that will stand the test of time.
You can make your stand as tall or short as you want. It can be as intricate as your desire, or as basic as your needs. I built my stands with utility and simplicity in mind. Here, I will walk you through how I build stands that will hold up to a standard 90 gallon aquarium.
 The first thing we need to do is define the size of the tank you want to support. We're going to work with a standard rectangular 75 gallon aquarium. The inside dimensions of a 75g 48″ x 18″ x 21″ (WxDxH), but the actual outside dimensions of the aquarium are a little bit larger. For this reason, we will define our Width (W), Depth (D) and Height (H) as 49″x 18.5″ x 21″.
The key to glass aquariums is to have even, flat support on all of the edges, usually where the trim is on the tank. With acrylic aquariums, full flat support is needed across the entire surface area of the bottom face of the tank. This is because acrylic will bow under the weight of the water if it is not supported across the entire area.
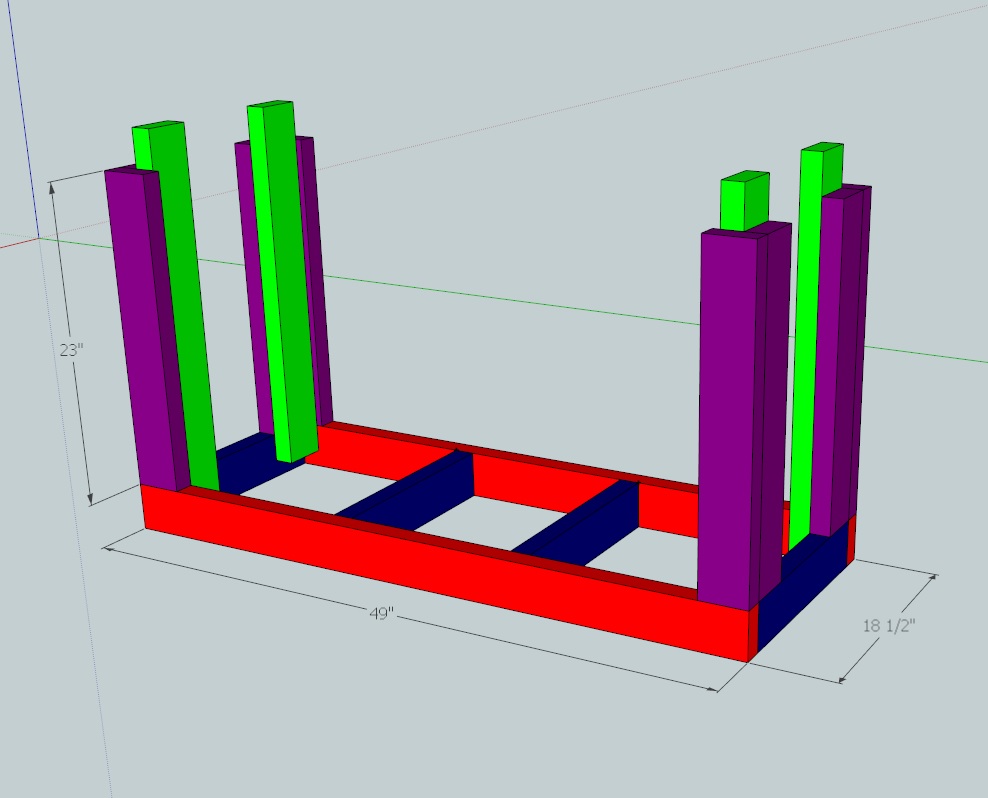
I have included the Sketchup plans at the bottom of this page. These plans will work for an aquarium with the same footprint as a 75g aquarium without any additional plywood. If you want to put a plywood top face on the stand, you will need to take into account the thickness of the plywood when you are determining the height of the stand. We will be using 2×4 pieces of wood. The actual dimensions of 2×4 boards are usually 3.5″ x 1.5″ with a thickness of .75″.
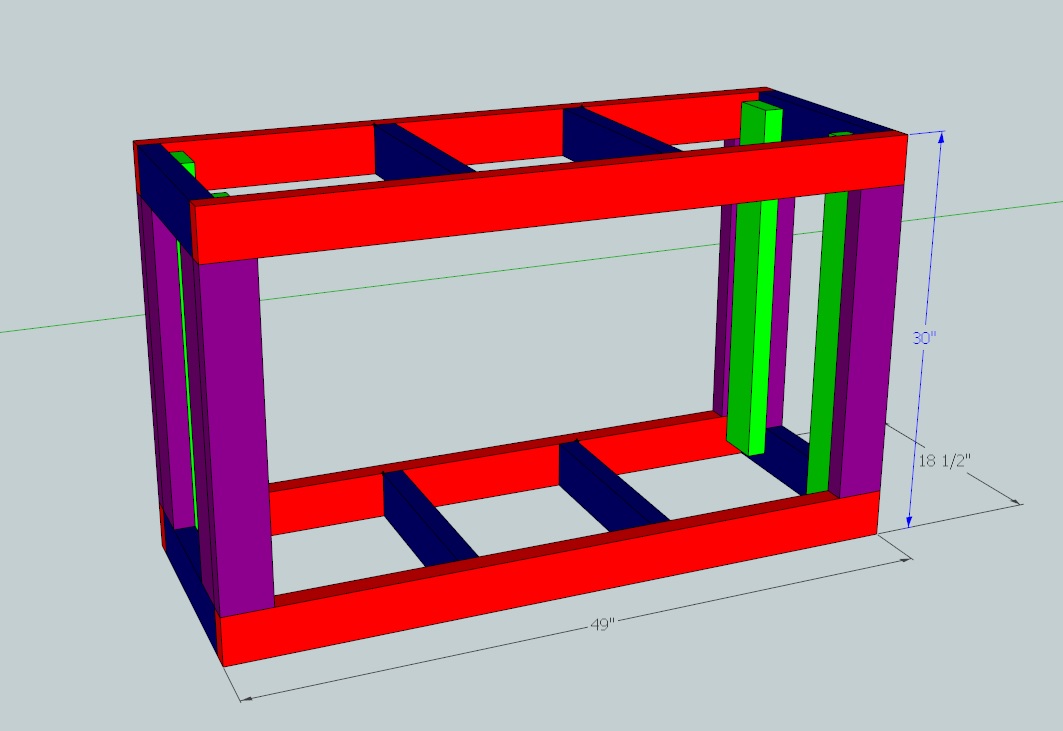
I only use four colors for my stands and I also use additional cross-bracing. The board lengths that I need for this project are:
- 4x Red = W = 49″ for the top and bottom rails
- 8x Blue = D – 3 = 18.5 – 3 = 15.5″ for the ends and cross-braces
- 8x Purple = H – 7. Since I want the top of my tank to sit at 51″ before a canopy or light, I must use (51 – 21) – 7 = 23″
- 4x Green = H – 2 = (51 – 21) – 2 = 28″
I will also need 3″ deck screws and wood glue. The glue is what gives the structure long-term connection, the screws are to hold the wood in place while the glue dries. With this particular stand design, the weight of the tank transfers directly down the supporting legs and onto the base so that there is no sheering tension on any joints. I also pre-drill and counter-sink all of my screw holes and go back later to fill them with wood filler.
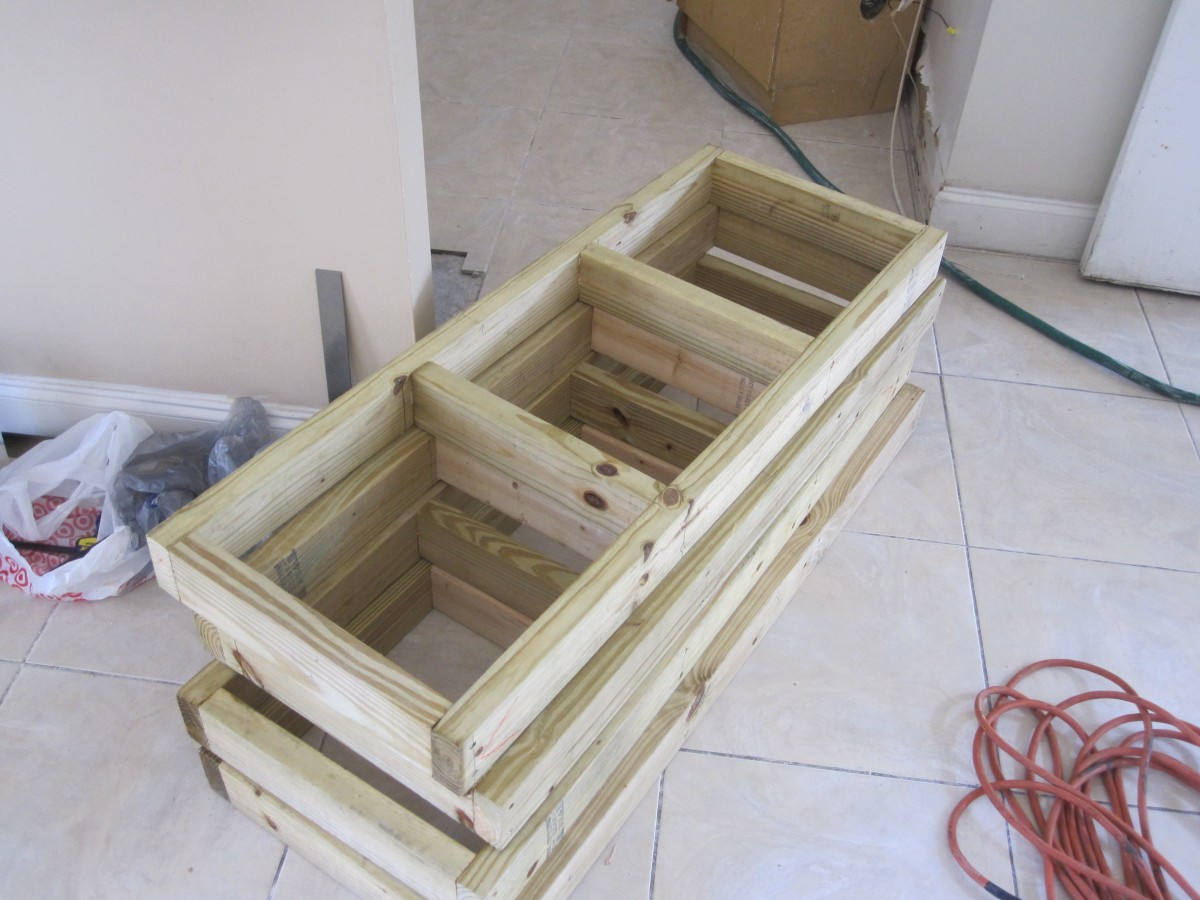
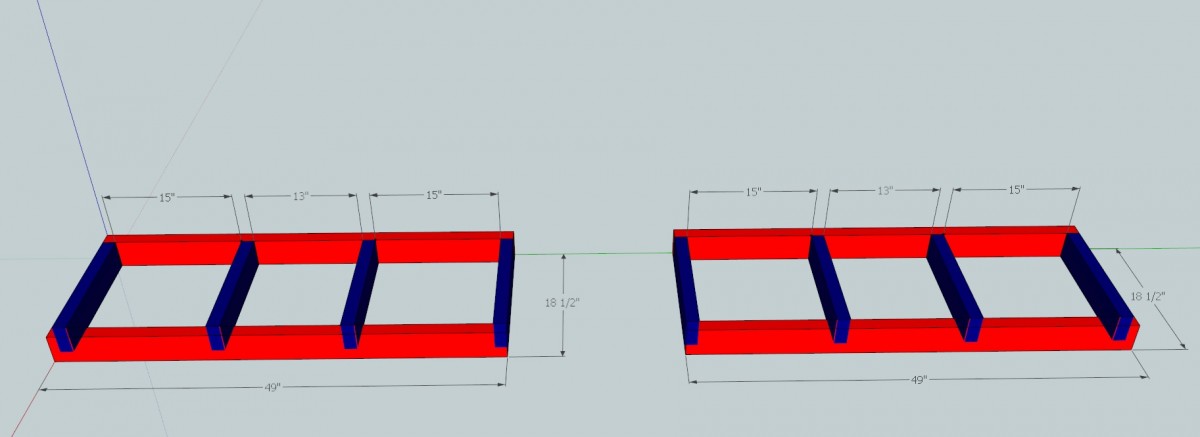
 First, we construct the two boxes which are the top and bottom faces.
Next, we attach the green screw strips to the bottom base. These strips are used to screw the purple supports into so that you don't need to fuss with pocket holes. These do not need to be glued and can be removed after the structure is complete, but I just leave mine on. These should sit about 1/2″ off of the ground.
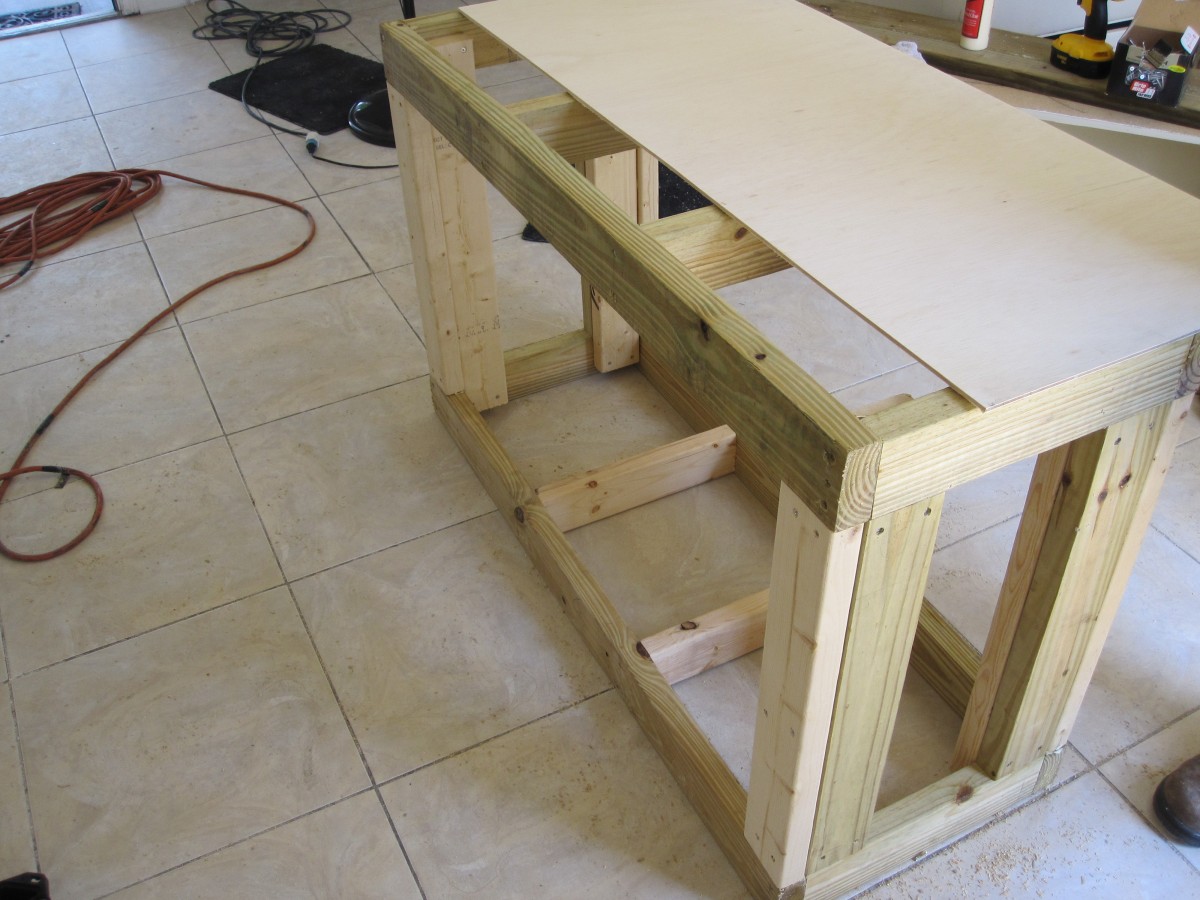
Now, we can attach the supporting legs that will sit flush to the two boxes. I use two legs in each corner for stability. All that is left with the skeleton is to secure the top box to the tops of the legs the same way the legs attached to the bottom box.
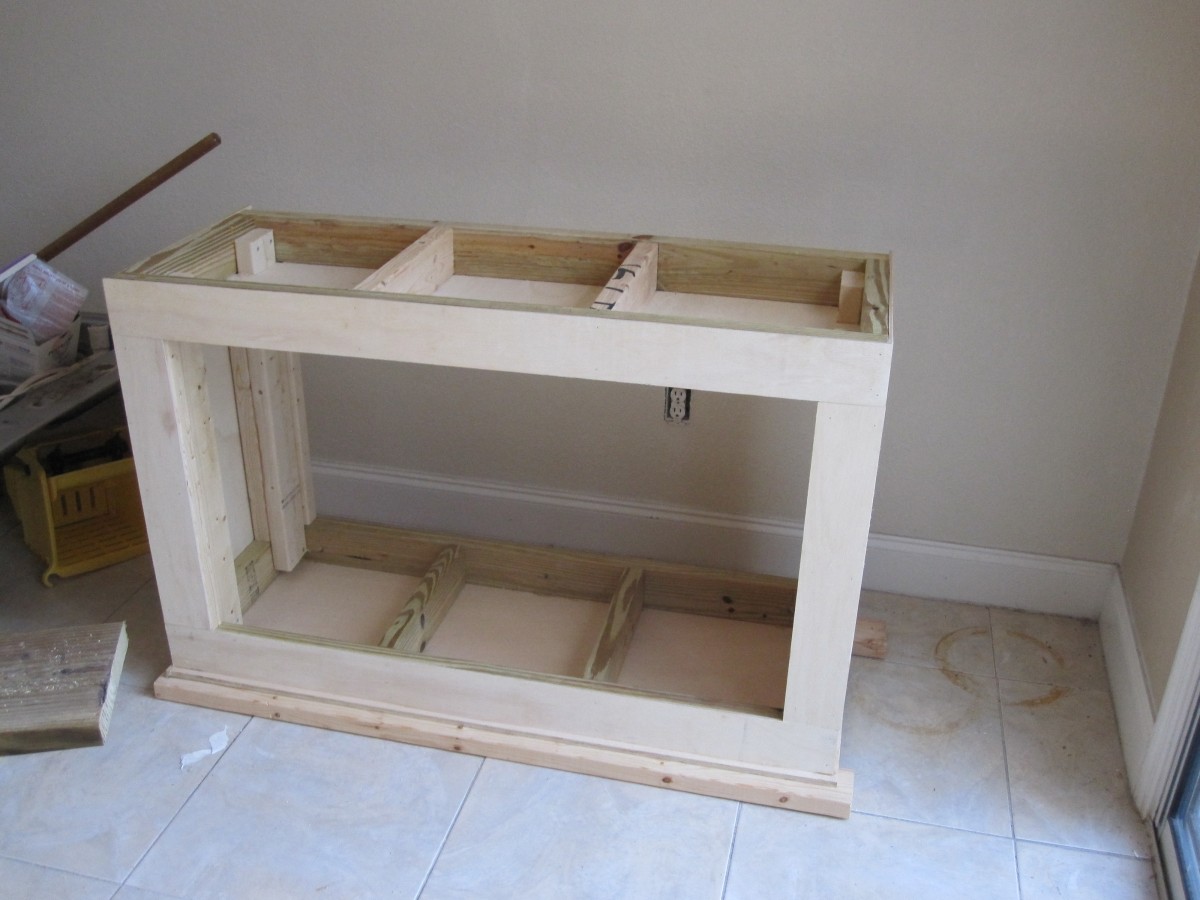
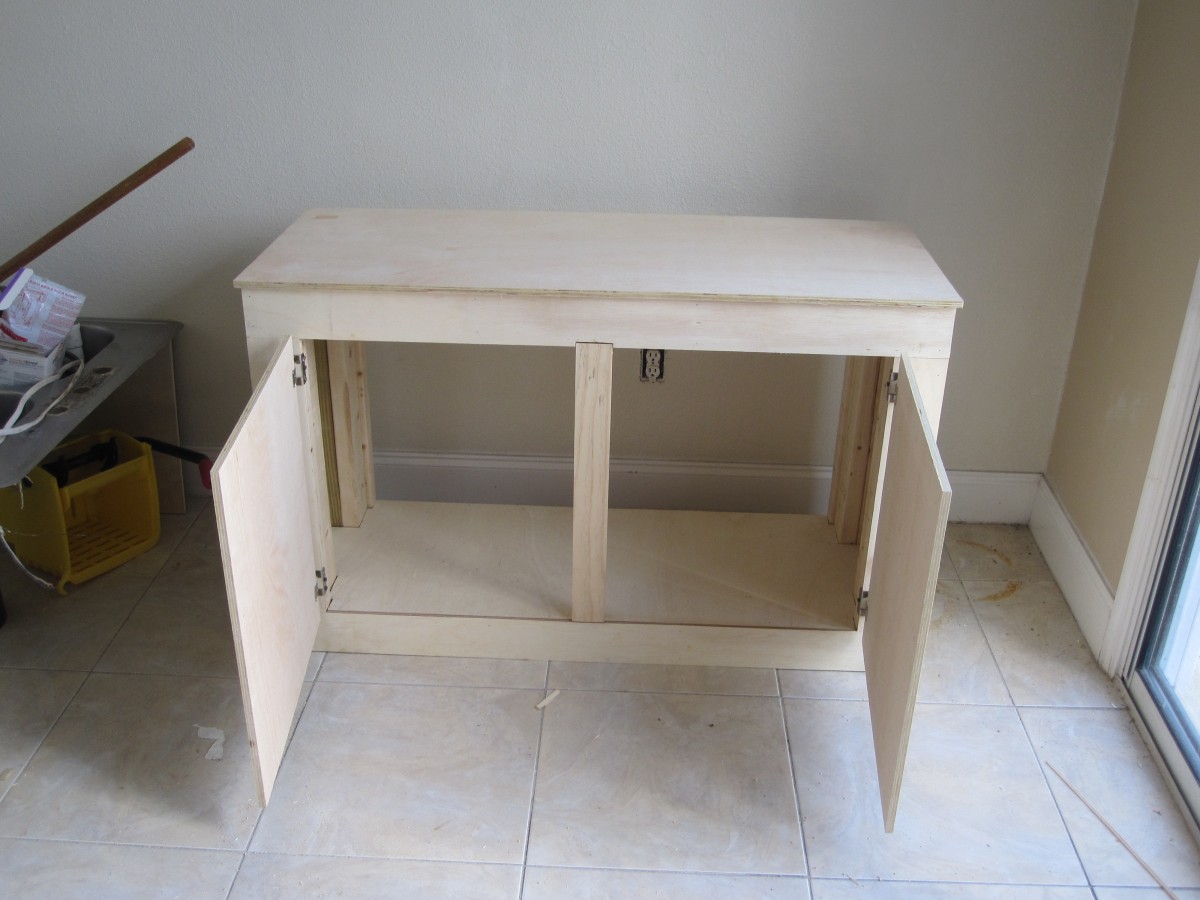
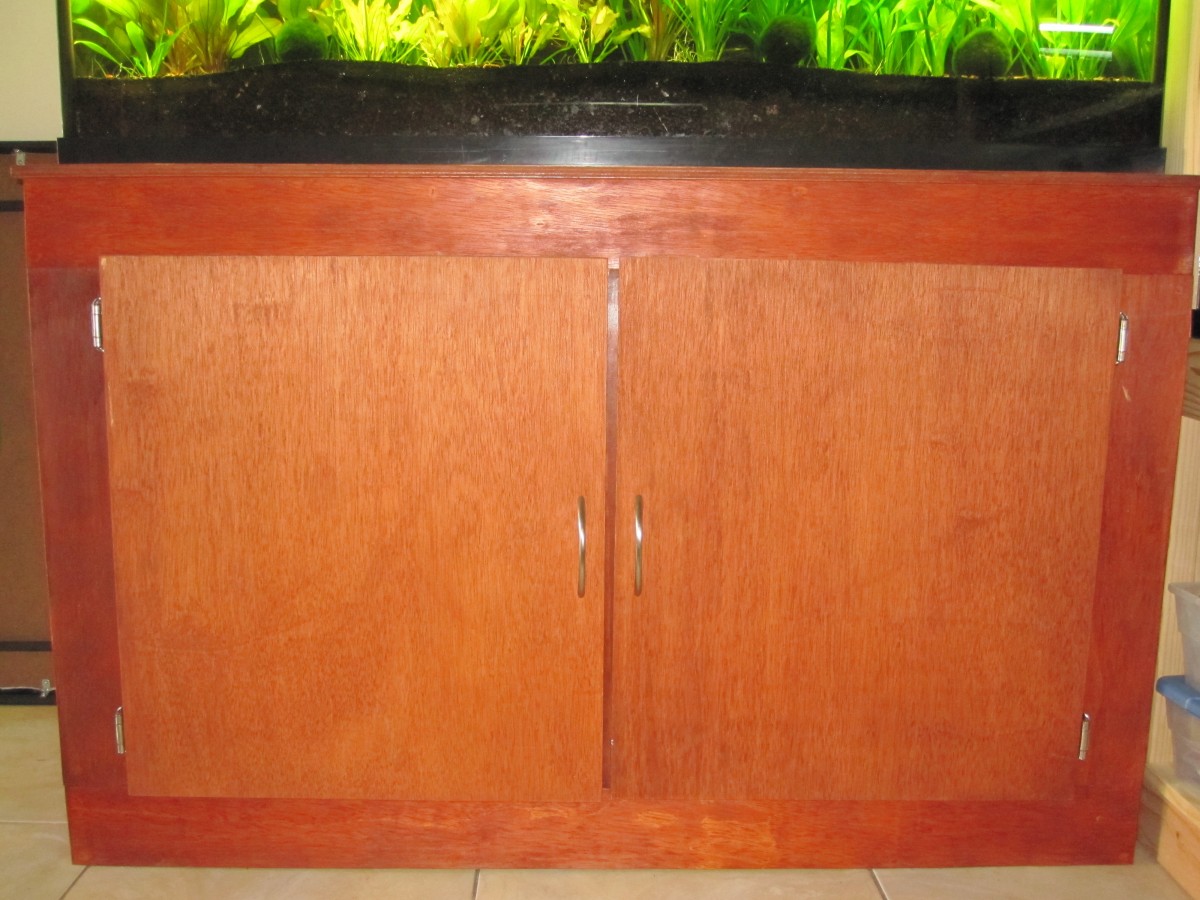
 That's it! This will support your aquarium with no problems. I like to finish it off with 1/2″ plywood top and 1/4″ plywood facing for the front and sides. I leave the back open for running filter lines and electrical, pop a style in the center of the front and throw on some doors.
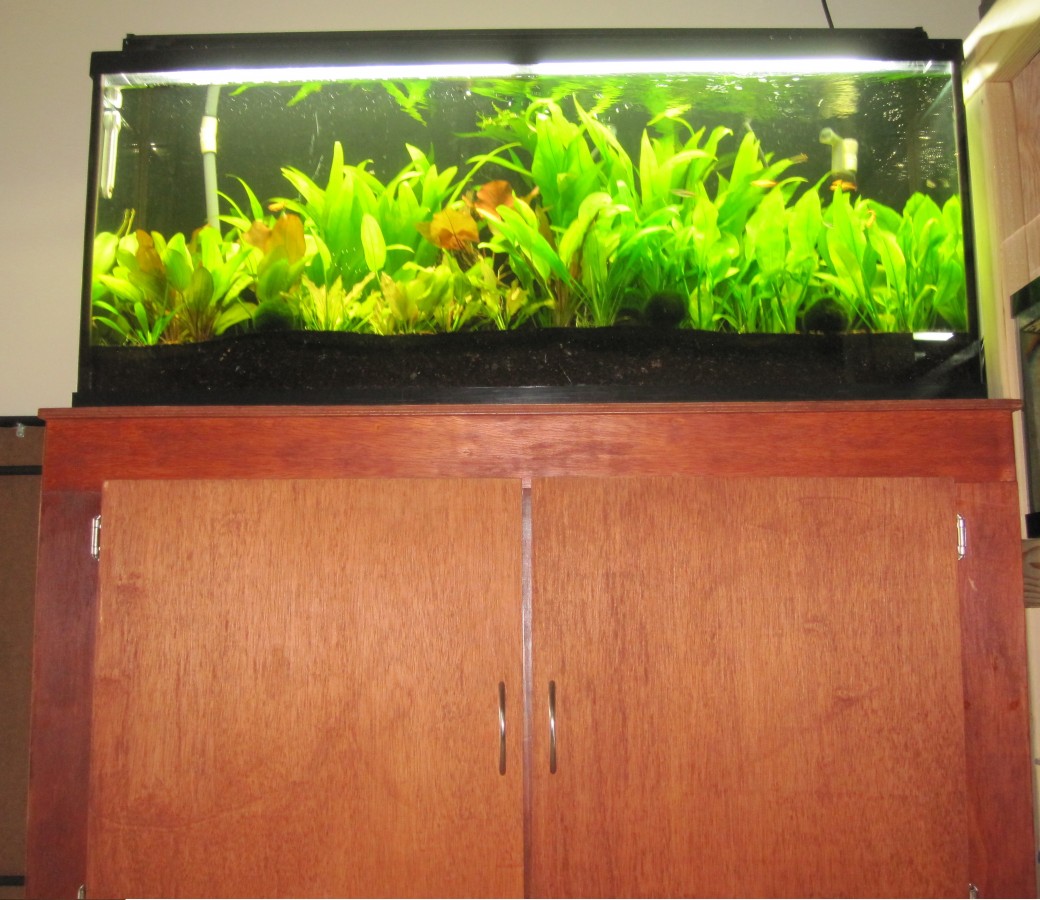 Stain and waterproof it, and it's all done.
This stand can be done for less than $50, but if you take your time and make it something to be proud of, you will need to invest a little bit more in plywood and stain, but it will be of higher quality and still less expensive than a store-bought stand! As promised, here are the Sketchup plans.
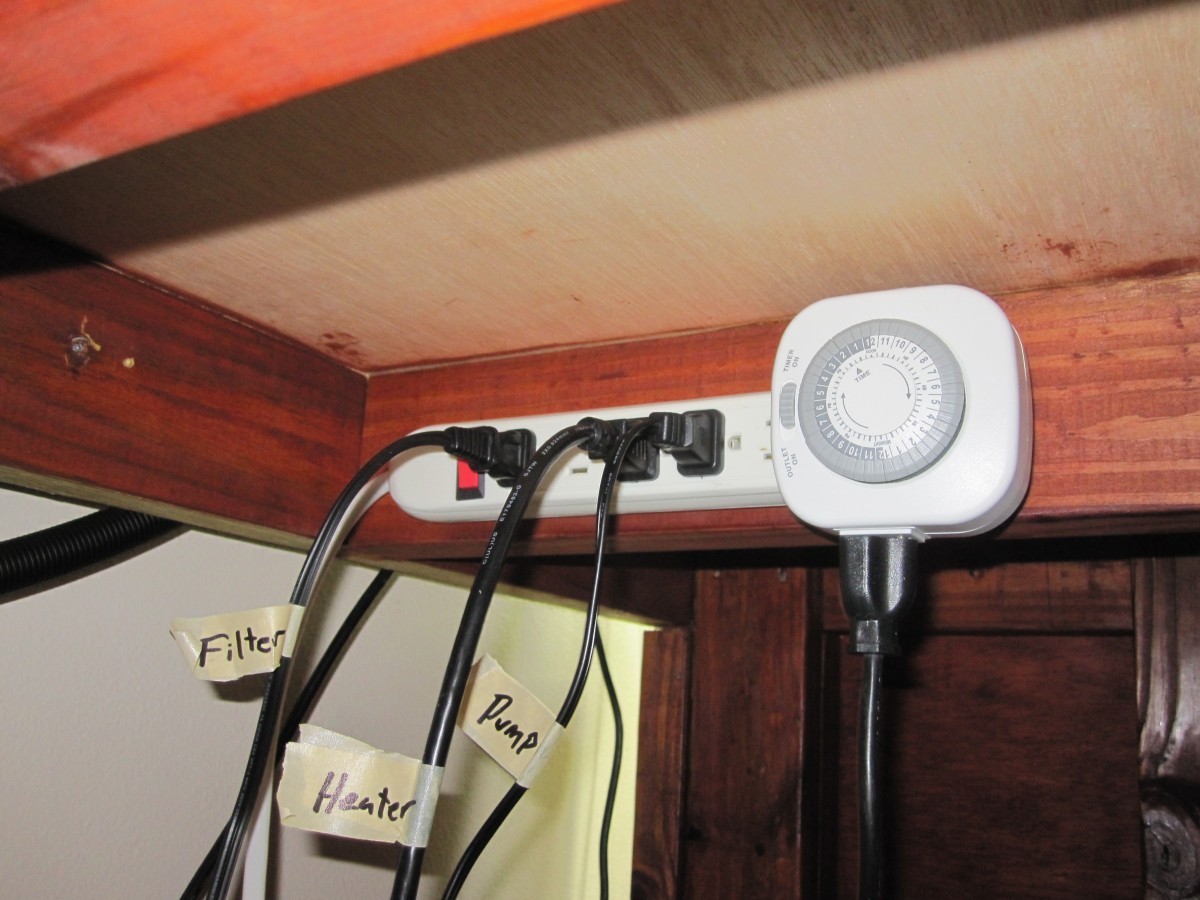
As a pro-tip, I recommend mounting your surge protector to the upper cross-braces. This will keep your electrical from getting tangled and it will also create a natural drip-loop for you. As a bonus, I always use some masking tape and mark my cords!