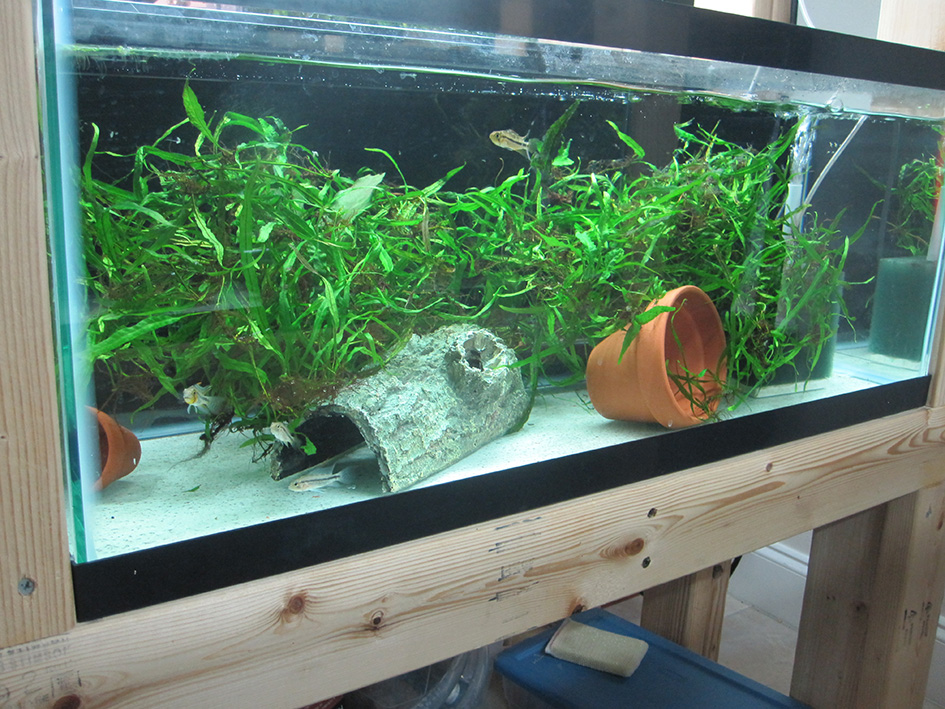
Give your bare-bottom tank a new look!
Do you like the convenience of a bare-bottom aquarium, but dislike the look? Maybe your fish become uneasy because they can see below them and feel there may be a threat. Maybe you have your tanks on a rack and you can’t use a solid board or some type of fabric to make the bare-bottom opaque.
I know these issues used to plague me, until I learned how to make a bare-bottom tank look like textured sand or gravel while still maintaining the ease of cleaning with the bare-bottom. I know a lot of breeders use bare-bottom tanks for grow-outs as well as breeding pairs simply because it’s much easier to see the waste and clean the tank. A lot of fish require pristine water to breed successfully, but we all know that every fish can appreciate a clean tank! If you’re not running a substrate, but you like the look of an opaque bottom, I’ll show you what I do to make my tanks appear to have sand bottoms! Make sure you have your materials:
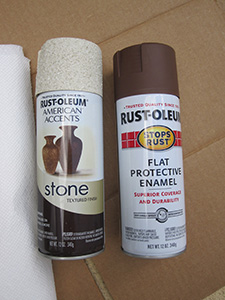
A textured spray paint of the color that you’d like to see on the bottom. I opt to use Rust-Oleum American Accents “Bleached Stone” Textured Finish. You can pick any color you’d like, but I’m partial to the sandstone look.
A dark spray paint to put over top the textured spray paint. You can use brown or black, or anything else that you think will look good filling in any of the gaps left by the textured coats. I use Rust-Oleum Brown Flat Protective Enamel.
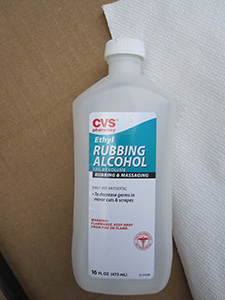
Some sort of cleaning agent for the outside of the tank, I use isopropyl alcohol, but you can use anything that’s safe for cleaning the aquarium, such as white vinegar.
I also like to have utility knife blades on hand for getting off anything that may be stuck on.
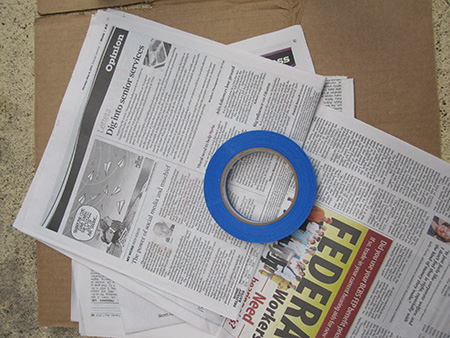
Painter’s tape. I use 3M Scotch Blue Painter’s Tape because I’ve had pretty good luck with it when painting backgrounds on my tanks. Depending on the size of the trim on your tank, you can usually get away with .94” wide tape, but if you think that may be too thin to work with, grab the 1.41” wide tape.
Old newspaper or any other type of shielding material.
Optional cardboard to place the tank on, this will protect the tank from the concrete as well as the concrete from the paint.
Grab the tank you want to use and make sure it’s empty and clean and all the fish have been removed! Take it outside, or another well-ventilated area, and set it upside down. Take your alcohol, vinegar, paper towels, razor blades, or whatever else you’re using and clean everything off the outside of the bottom panel of the tank. You don’t want anything remaining there getting trapped in view by the paint!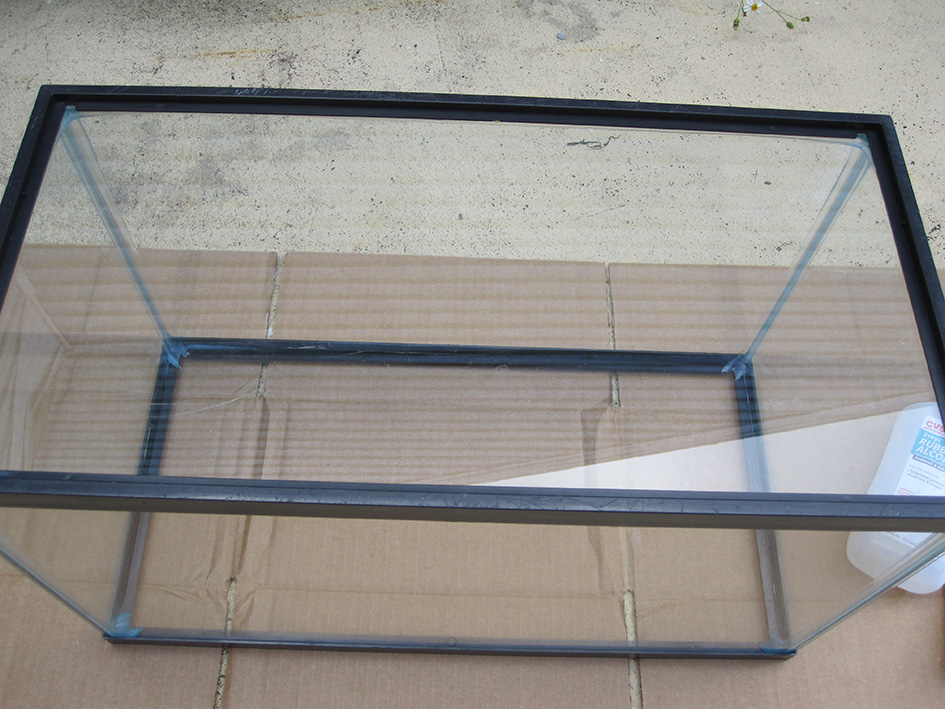
Once the panel is all clean, begin taping around the edge of the trim. You can tape out all of the trim and go back with tape and newspaper, or you can do the tape and newspaper first. The tape will be the line where the paint stops. I don’t worry about getting any paint on the bottom trim, but I’m always concerned with the side trim as well as the other glass panels. However you can get the newspaper and tape to protect everything that you don’t want painted is the right way! If some spray paint escapes you, no worries, it will come off with a razor blade.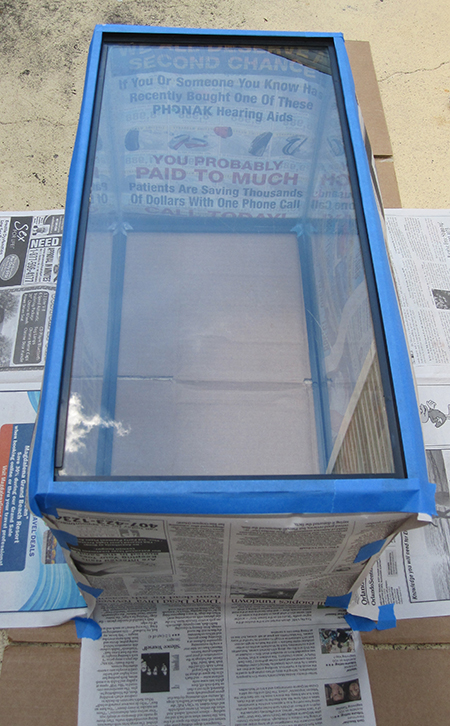
Now you can begin painting on the textured paint. If you’ve never used it before, it’s a little bit trickier than standard spray paint. Because it is textured, if you spray at the incorrect distance or angle, the blast may move the paint that’s already on away from the center of your stream.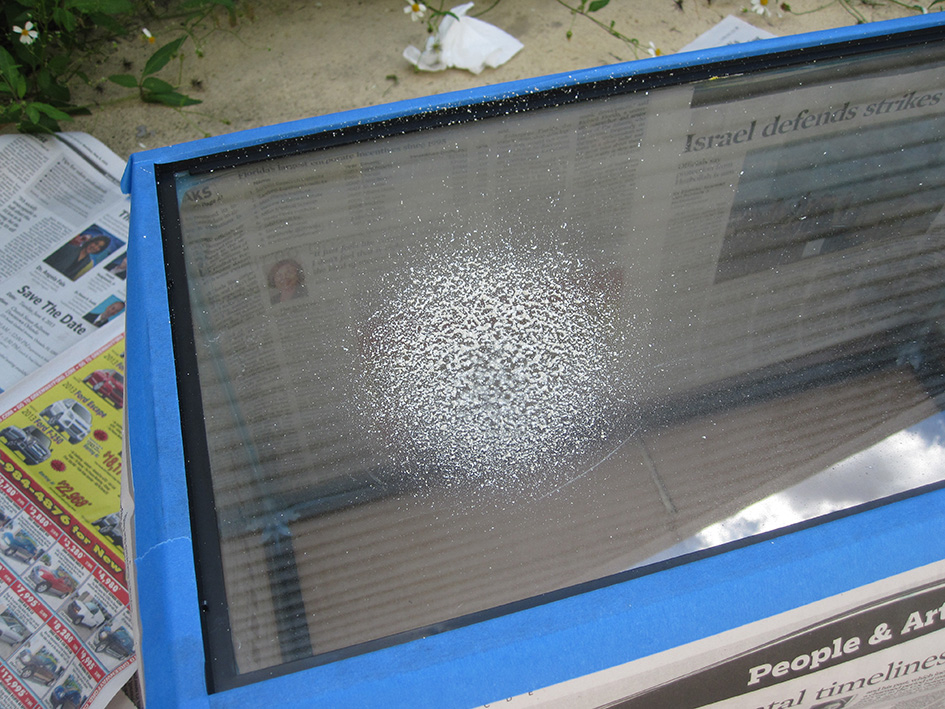
The trick I use is to paint at around a 60 degree angle from 2-3 feet away and I don’t press the nozzle all the way for the full blast. Once you get started, you’ll see what I mean. You’ll do three coats of this total, waiting 15 minutes between coats. You can do more, but I haven’t seen the need.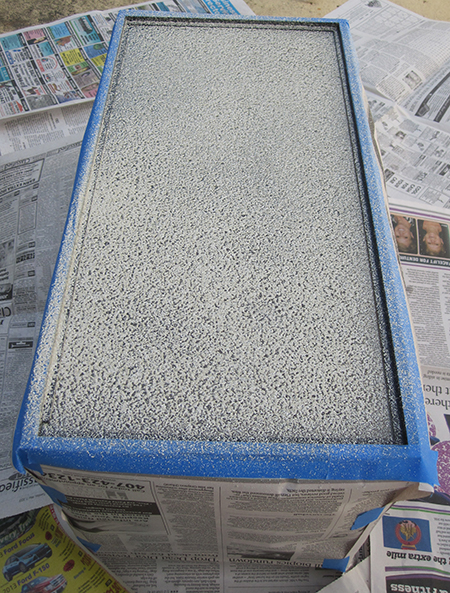
After the textured paint has dried for another 15-20 minutes, you can use your darker paint for cover. What this does is fills in any gaps left by the textured paint, but also darkens up the bottom so you don’t show light through it. This will take another 2-3 coats with the same amount of drying time as the previous coats.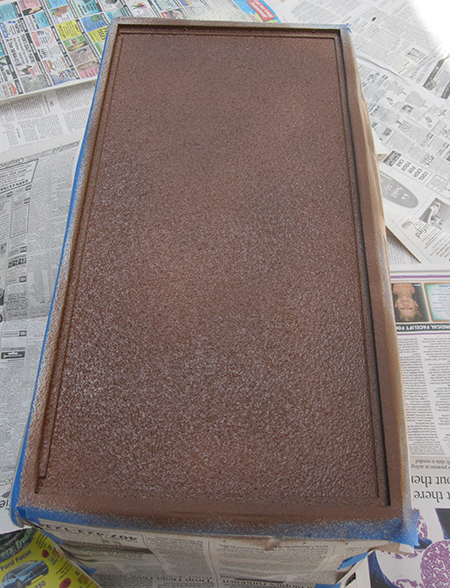
You can use a light to determine if your dark coats are thick enough to block out light.
Then, you can move the tank inside or somewhere it will be protected from the elements. Once it has dried for about an hour, you can carefully remove the tape and newspaper. If you remove the tape too early, it’s possible the paint may pull up as well.
Once it’s all dried and you’re happy with it, give a vinegar solution scrub to the inside of the tank, rinse thoroughly and you’ll be good to go!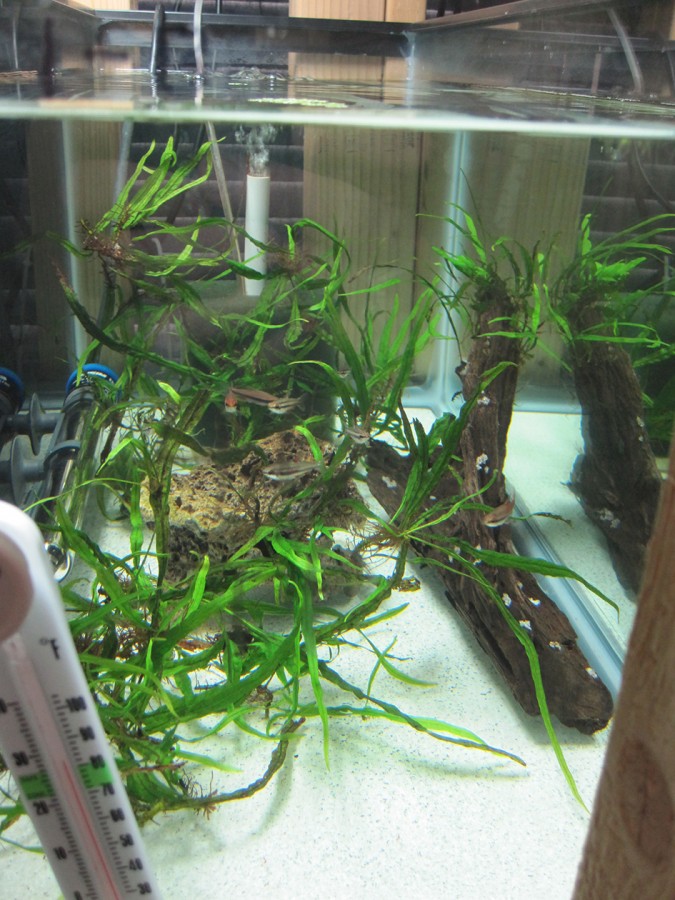
by Ray Wise