DIY: 3D Aquarium Background (PETG)
For a long while now, there have been 3D backgrounds created for aquarium use. Some are often formed out of styrofoam, later painted with several layers of concrete, but can take a week to make, including cure times and drying time for paint. Another common method is using painted foam latex, which may not be suitable for everyone, gets quite expensive, and can also take up to a week to make. We got to thinking, there has got to be a better, faster, and less expensive way for the hobbyist to fabricate a great looking 3D background for their tank.
Enter PETG
Polyethylene terephthalate glycol-modified (PETG) is a clear amorphous thermoplastic that can be injection molded, or sheet extruded. It can be colored during processing, but is readily available for around $1-2 per square foot, depending where you look. PETG is very easy to work with, and can be vacuum-formed. Unlike foam latex backgrounds that can become brittle over time, PETG is very resilient, and can withstand thousands of pounds of pressure. This means it can be folded up and fit between center braces with ease.
Creating a Vacuum Board
Depending on how you create your vacuum board will determine how large of a piece of PETG you can mold. Keep in mind, the larger the board, the higher the requirements for the vacuum source. A common size to work with would be 16″ x 22″, which allows for a 1″ border for handling. Use aluminum or foil tape to seal the edges.
Creating Your Background
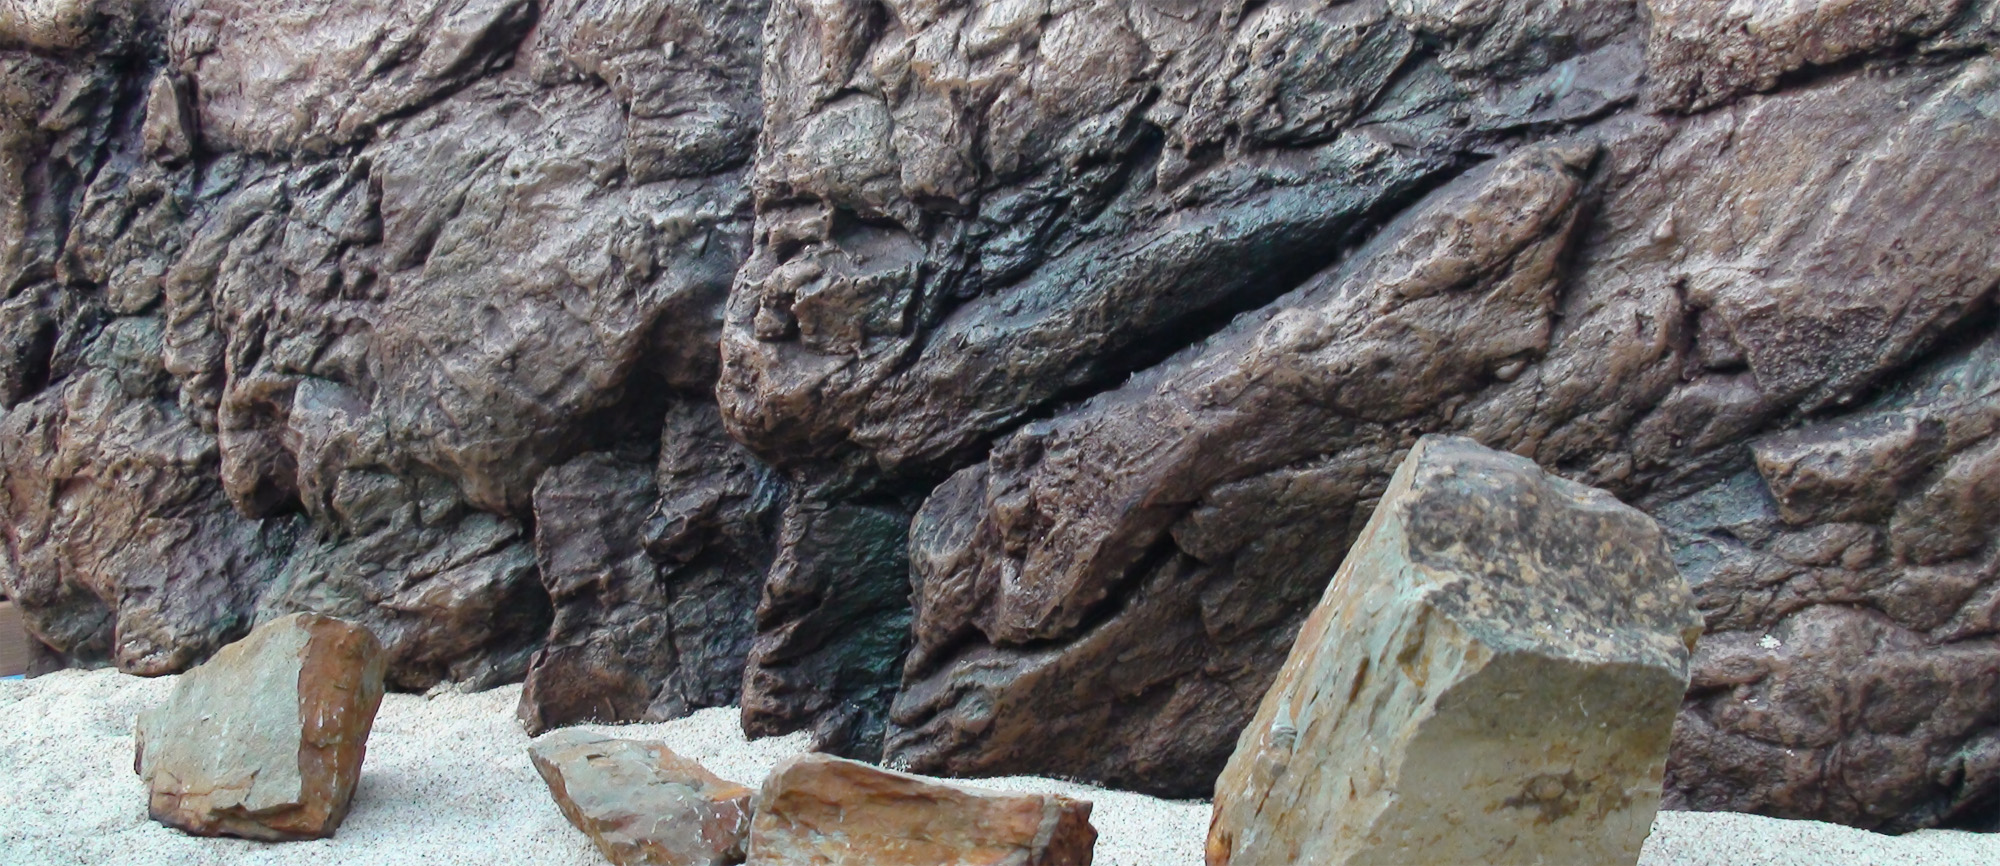
Start by laying out your forms on the vacuum board, such as rocks or driftwood. Large chunks of tree bark from oak and pine trees make for really neat textures. Preheat your oven to 450°F. As the plastic starts to warm up, it will begin to warp into a wavy shape. Do not be alarmed, this is normal. The plastic is just becoming soft in different areas as it heats up, and this causes warping. Once the plastic starts to “sag” in the middle by about 2 inches, remove the tray from the oven, and begin the vacuum forming process.
Texture and Color
At this point, you will have a great, flexible background. If you have multiple pieces to be combined into one large background, use some ABS or general purpose cement, found in the plumbing department of your local hardware store. While you are there, pick up a can of brown or black Krylon Fusion spray paint, and coat the entire background. By having a primer layer, you now have a painted surface to which you can attach other colors easily. For added texture, sprinkle sand onto the wet primer layer, applying a second coat to lock the sand in place.
At this point, you can opt to stick with spray paint, or do a custom, brushed, hand-painted background. If continuing with spray paint, don't be afraid to get creative with quick bursts from a distance, and at different angles. Add in highlights and mid-tones. The shadows should come primarily from your base coat. Give your new creation at least 12 hours to cure. Optionally, silicone your background in place. Alternatively, you can attach stainless steel washers to the backside of the background, and use some magnets on the back of your tank to hold the background in place.
Always check the cull lumber cart at your local hardware store for cheap, pre-cut lumber. The total cost of your vacuum board should be less than $20. Expect to purchase at least 3 cans of Krylon Fusion, in various shades of your choice. We recommend starting with some basic colors, like dark brown or black for shadows (base), medium brown or grey (mid-tones), and cream or light grey (highlights). At roughly $4 per can, your cost for paint comes in at $12. Your vacuum board and paint can be used for several 3D backgrounds. After 4 backgrounds, the cost per background, including the cost of supplies for the vacuum board, comes in at roughly $10 per background. With such a low price-point, you may want to include a few more colors of paint, like greens, reds, and golds to simulate shale or slate. You can mix your spray paint on a magazine page, using an old sock turned inside-out to create some really nice textures. Experiment and have fun!